

Looking for an effortless, plant based breakfast loaded with rich, comforting flavours? This Crunchy Maple Cinnamon Granola brings together wholesome rolled oats, toasted mixed nuts and warm spices into a single, perfectly baked tray!
Maple Cinnamon Granola Recipe
If you need a nutrient dense breakfast or snack to keep you fueled, this recipe is a total winner. By pairing heart-healthy rolled oats with protein-packed almonds, walnuts, Brazil nuts, and cashews, you get a balanced ratio of plant protein, complex carbohydrates, and dietary fiber.
Whisking pure maple syrup, olive oil, vanilla extract and ground cinnamon creates a sweet, aromatic coating that wraps around every single oat and nut as they toast. Once cooled, it transforms into extra crispy, golden clusters with virtually no hands on prep time required.
Customize it however you like! Stir through dried fruit or vegan chocolate chips after cooling, scatter it over creamy plant-based yoghurt, or enjoy it as a crisp topping for your morning smoothie bowl.
This recipe is ideal whenever you want a quick, delicious homemade batch prep ready with minimal effort!


Crunchy Maple Cinnamon Homemade Granola
Description
Upgrade your morning routine with this easy, single-tray homemade granola! Packed with rolled oats, crunchy mixed nuts, warm cinnamon, and pure maple syrup, this golden recipe bakes up perfectly in under 25 minutes. Allowing it to cool completely produces extra-crunchy clusters that make an ideal plant-based breakfast, yogurt topper, or healthy snack.
Ingredients
Instructions
-
Mix dry ingredients
Preheat your oven to 200°C. Add the Oats into a large mixing bowl. If you're using whole nuts, either chop them using a knife or bash them with a rolling pin (or your hand if you're adventurous) until they are a similar size as the oats. Once they are a similar size to the oats, add these to the bowl as well.

-
Add wet ingredieients
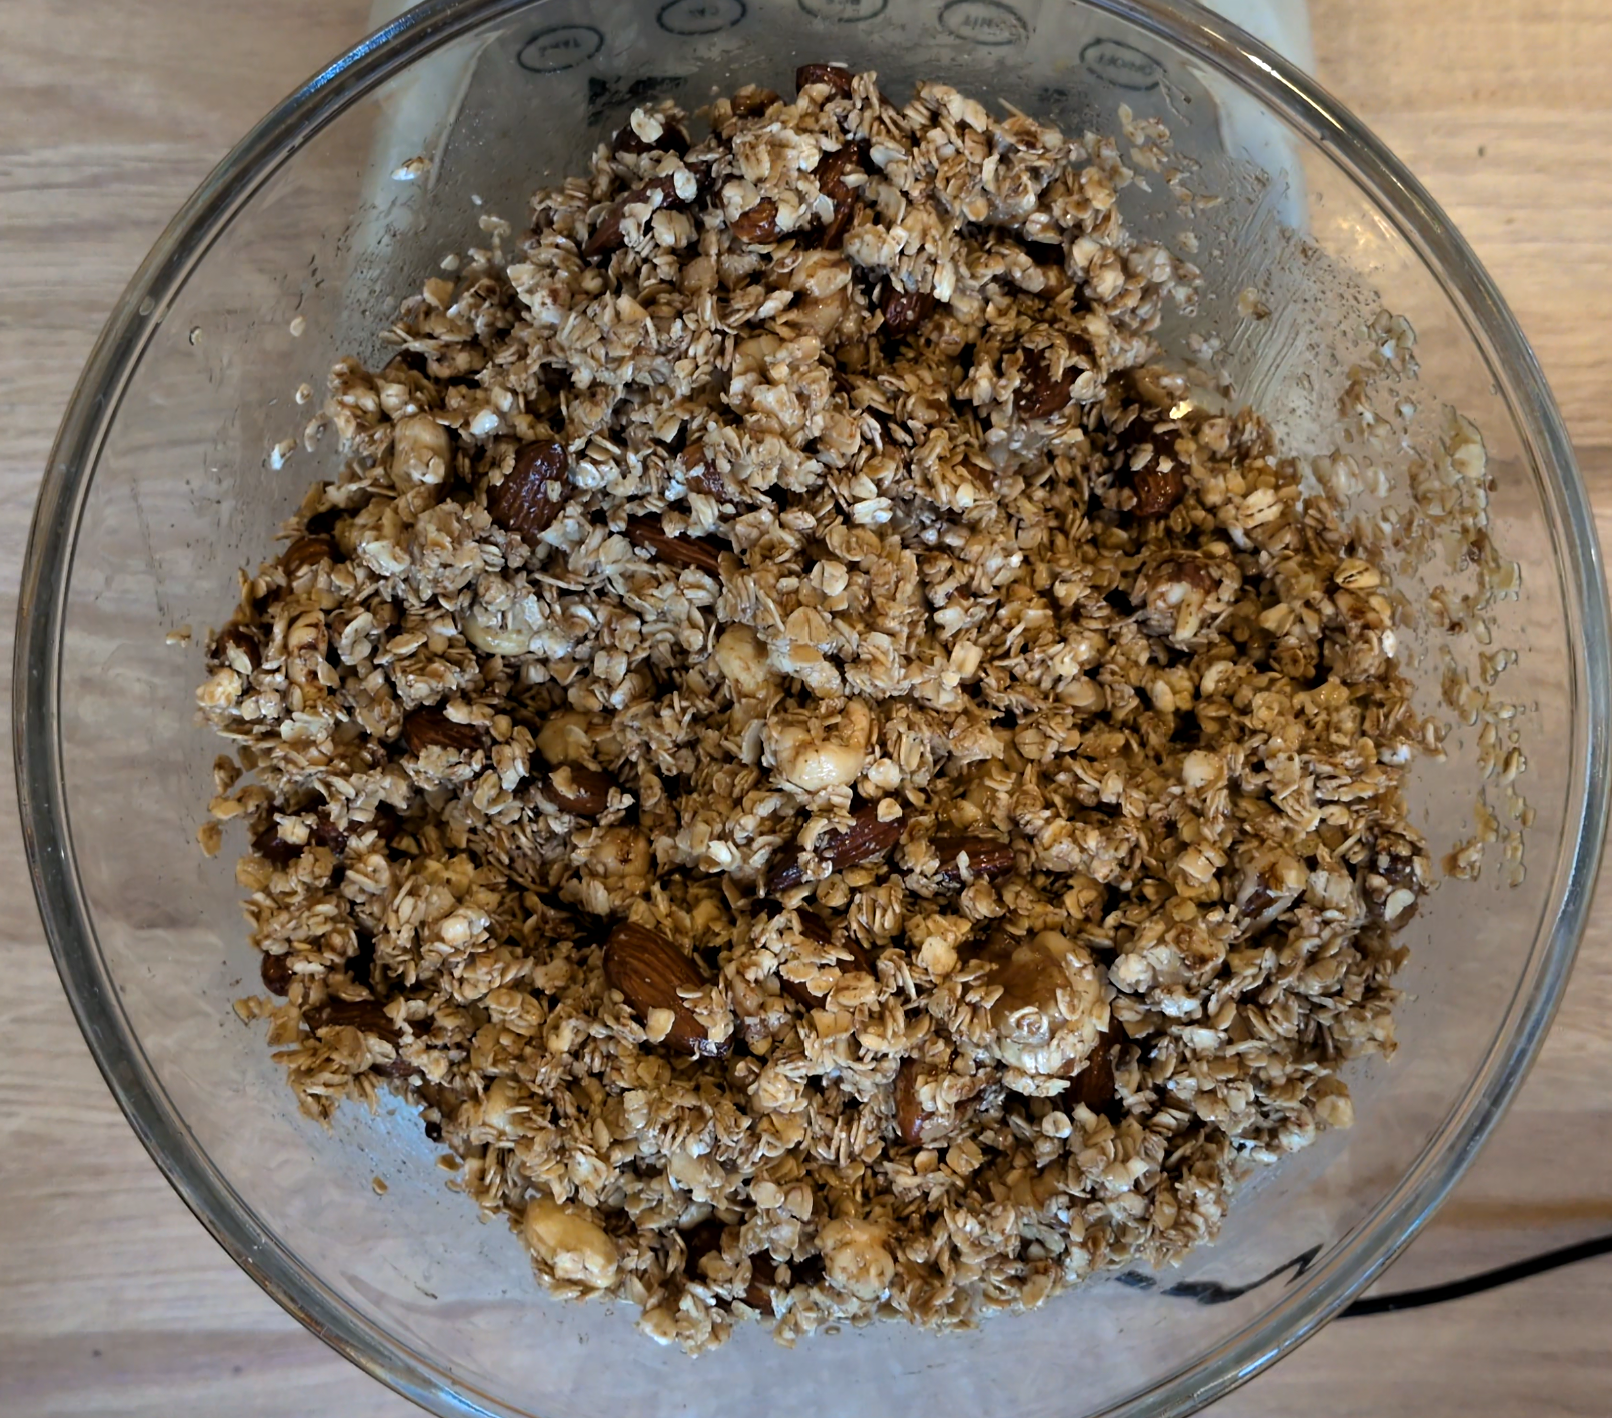
Add the Maple syrup, olive oil, vanilla extract, salt and cinnamon into the mixing bowl. Mix this well until all ingredients are until combined.
-
Add to a sheet pan and bake!
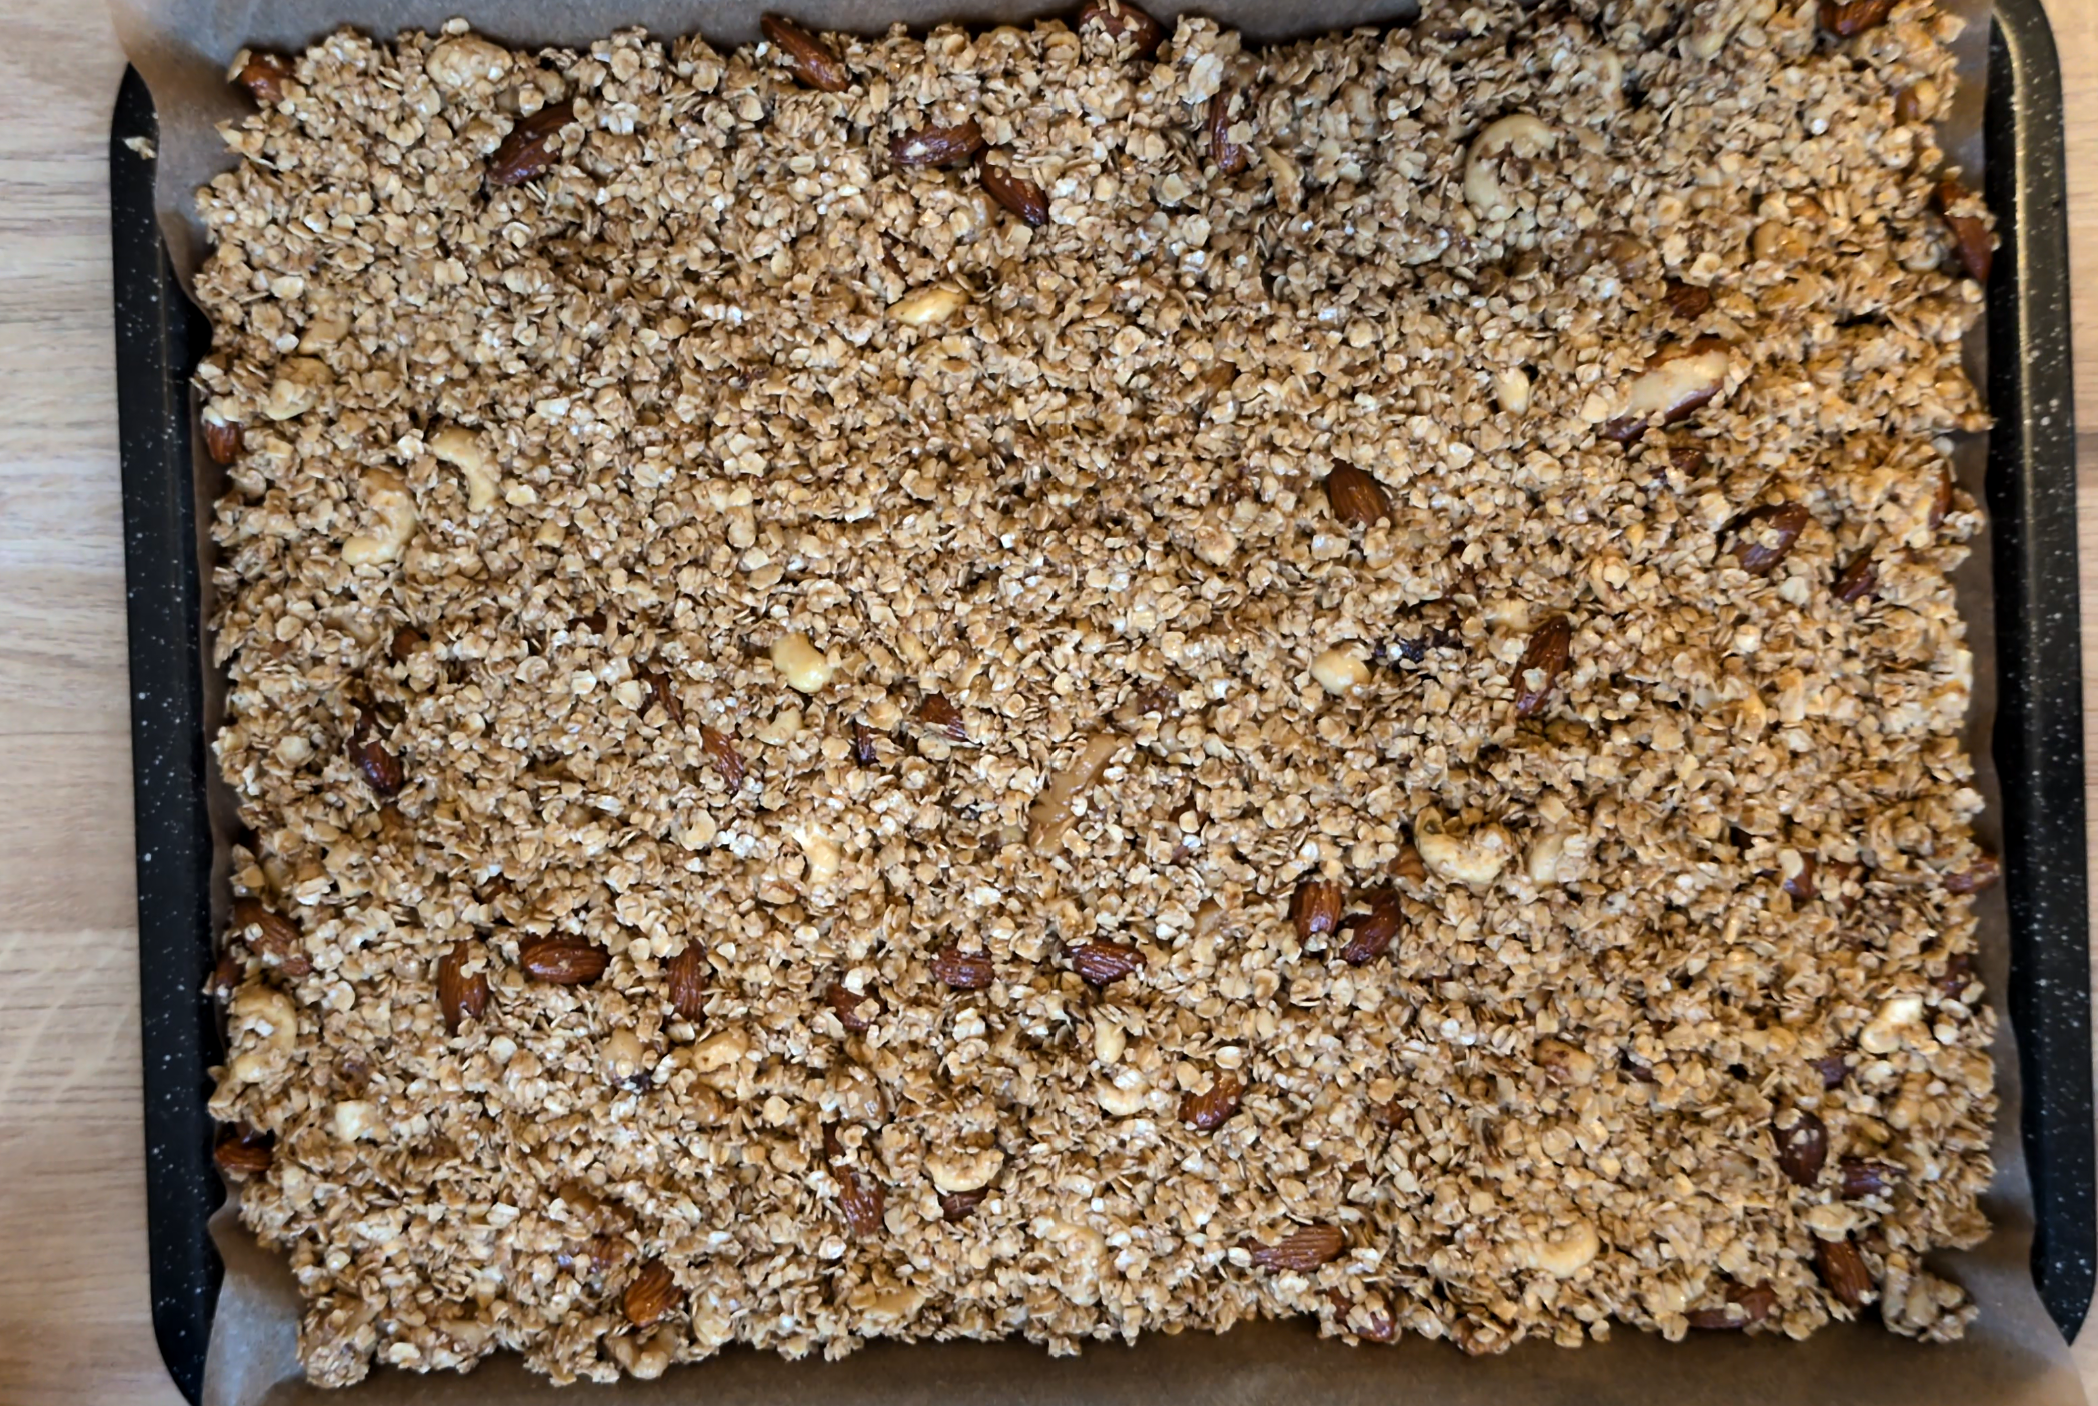
Grab a large sheet pan and layer this with parchment paper. Layer on the granola mixture and spread it evenly across the surface of the pan. Bake this in your preheated oven for 12 minutes, and give it a mix. Return this to the oven for a further 12 minutes it's done!
-
ALLOW IT TO SIT!!
It's very important to let the granola sit so you get clumps of granola which bind together. Don't touch it when it comes out of the oven for a minimum of 45 minutes to let it cool. It's worth the wait!
Nutrition Facts
Servings 16
- Amount Per Serving
- Calories 225kcal
- % Daily Value *
- Total Fat 58g90%
- Saturated Fat 2g10%
- Sodium 39mg2%
- Potassium 106mg4%
- Total Carbohydrate 21g8%
- Dietary Fiber 4g16%
- Sugars 5g
- Protein 5g10%
* Percent Daily Values are based on a 2,000 calorie diet. Your daily value may be higher or lower depending on your calorie needs.
Note
- The Secret to Extra Crunchy Clusters: Resist the urge to toss or break up the granola right after taking it out of the oven. Leaving the tray undisturbed for at least 45 minutes lets the melted maple syrup cool and harden, locking the oats into large, crispy chunks.
- Baking Temperature & Even Toasting: Oven temperatures can fluctuate, so keep a close eye on the tray during the final few minutes. Mid-bake stirring ensures the outer edges don't scorch while helping the center brown evenly.
- Effortless Liquid Emulsion: Combine your maple syrup, olive oil, vanilla, and spices together in a small jug or bowl before coating the oats. Whisking the liquids first guarantees every oat grain is evenly flavored without any dry patches.
- Freshness & Storage Life: Transfer completely cooled granola into an airtight glass jar or container and keep it in a cool, dry cupboard. It stays fresh, crisp, and delicious for up to 4 weeks.
- Easy Recipe Customizations: Feel free to stir in dried cranberries, raisins, or vegan chocolate chips after the granola has fully cooled down so they don't melt or burn on the hot tray.



